
Visual Studio Code is a free and open-source source code editor developed by Microsoft. It is designed to be lightweight, fast, and versatile, providing developers with a powerful tool for coding, debugging, and source code management.
VSCode supports a wide range of programming languages and offers features like syntax highlighting, IntelliSense (code completion and suggestions), built-in Git integration, debugging tools, and a vast ecosystem of extensions. Its cross-platform compatibility allows users to run it on Windows, macOS, and Linux, making it a popular choice for developers working on different operating systems..webp)
Now Install the apk file. If you are prompted to go to settings and enable installation of Apps from unknown sources, do that!

When prompted, press 'y' and then press enter. You will have to press y followed by enter every time you are prompted for it.
Now let's upgrade the packages using the below command in Termux
You will see a screen like this:
Now fire this command and Ubuntu will start to install on your Android phone.
Now, start Ubuntu by firing the following command:
You will now see a root@ubuntu prompt in the terminal like this:

and following command to upgrade the package repository:
Now install wget using the following command:
We will now download the latest release of the code server from Github using the following command: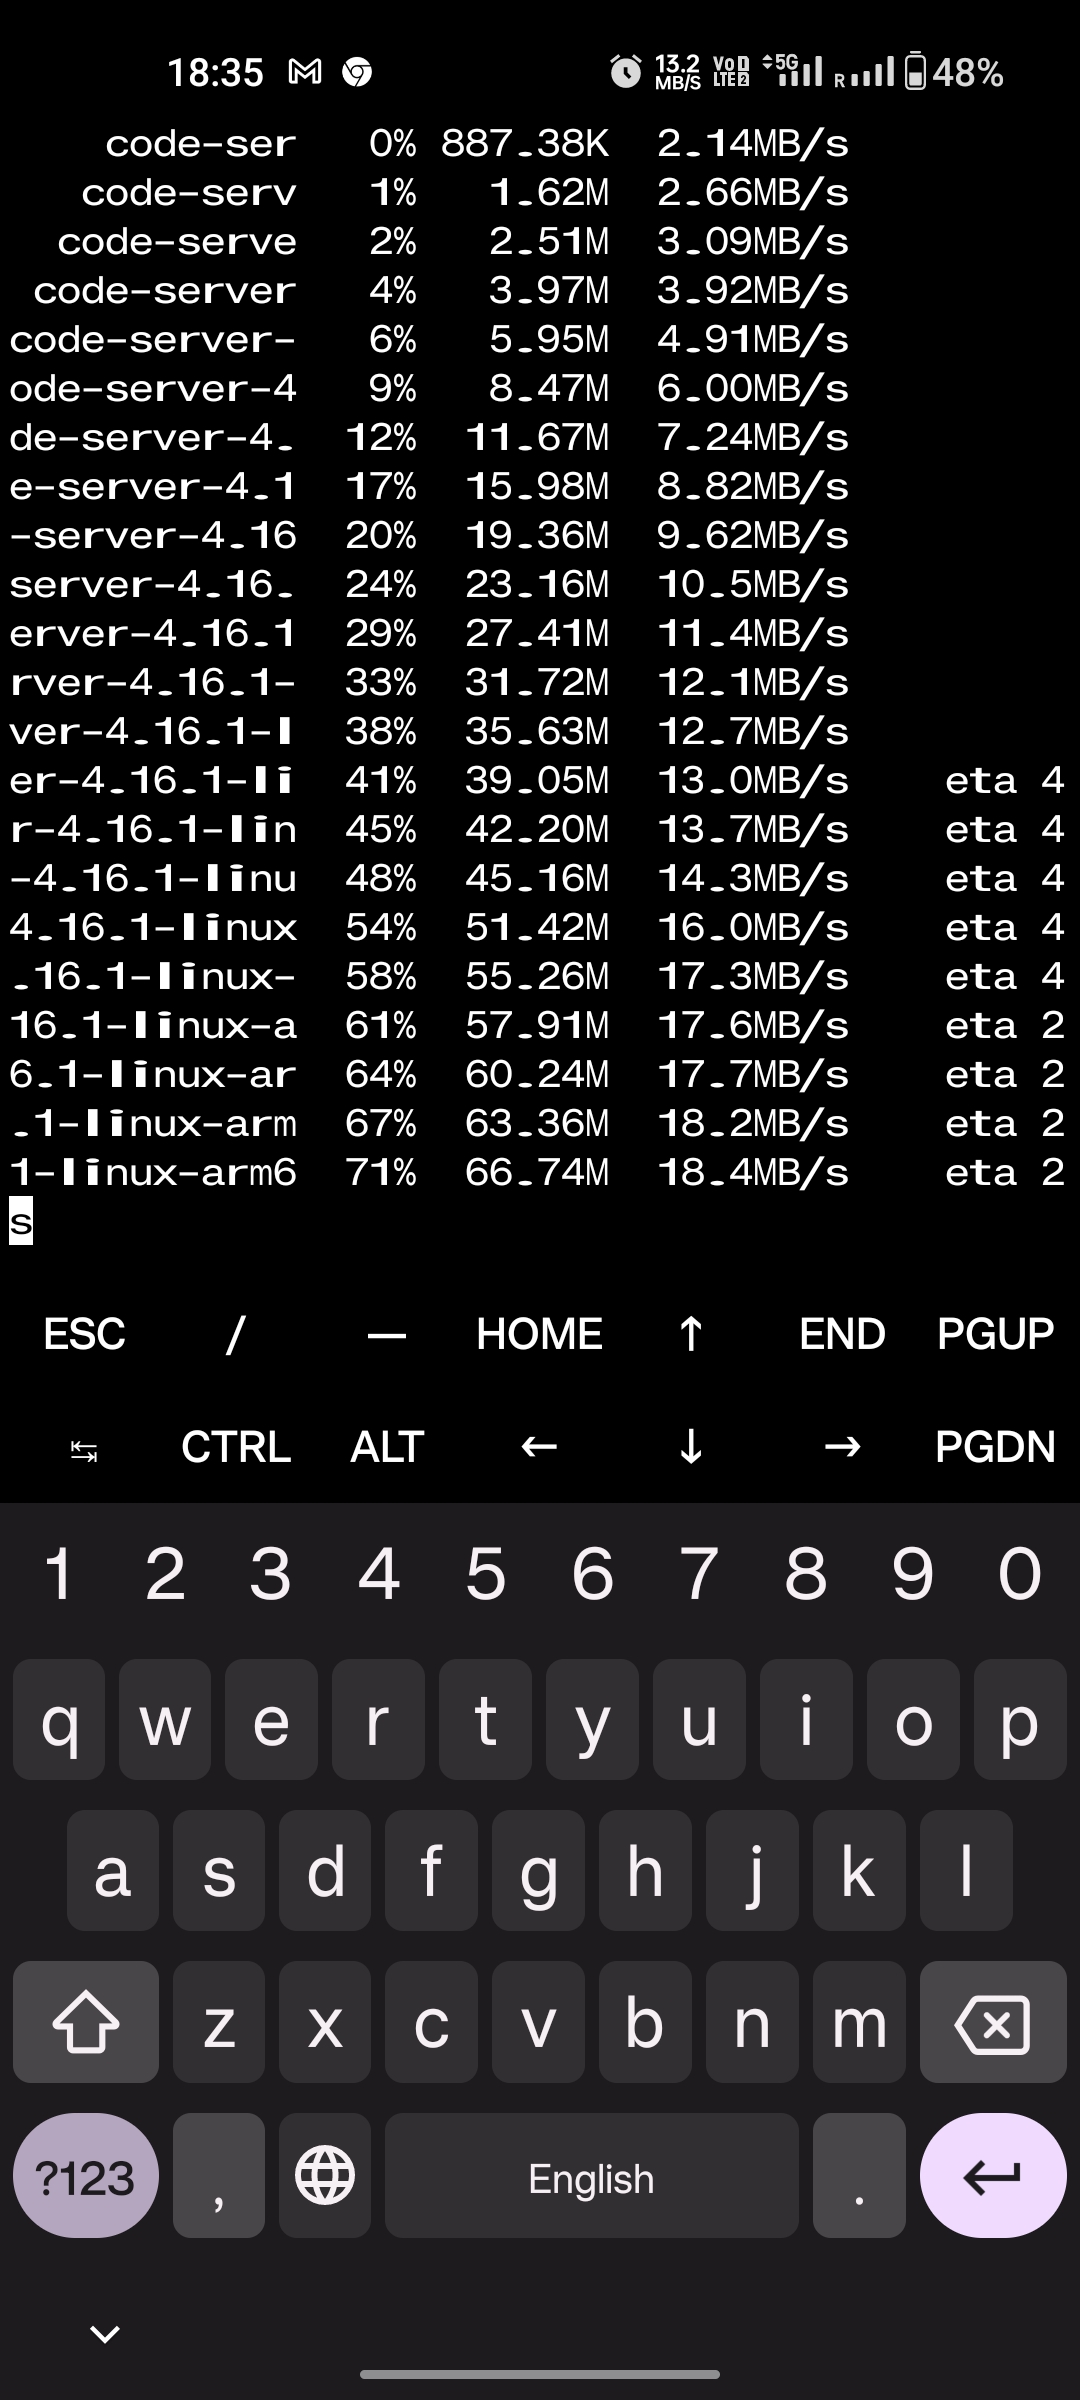

Extract the tarball using the following command:
Enter the /bin folder of your code-server installation on Ubuntu (running on your phone)
Setup a password for your VS Code instance using the following command:
Launch the code server using the following command:
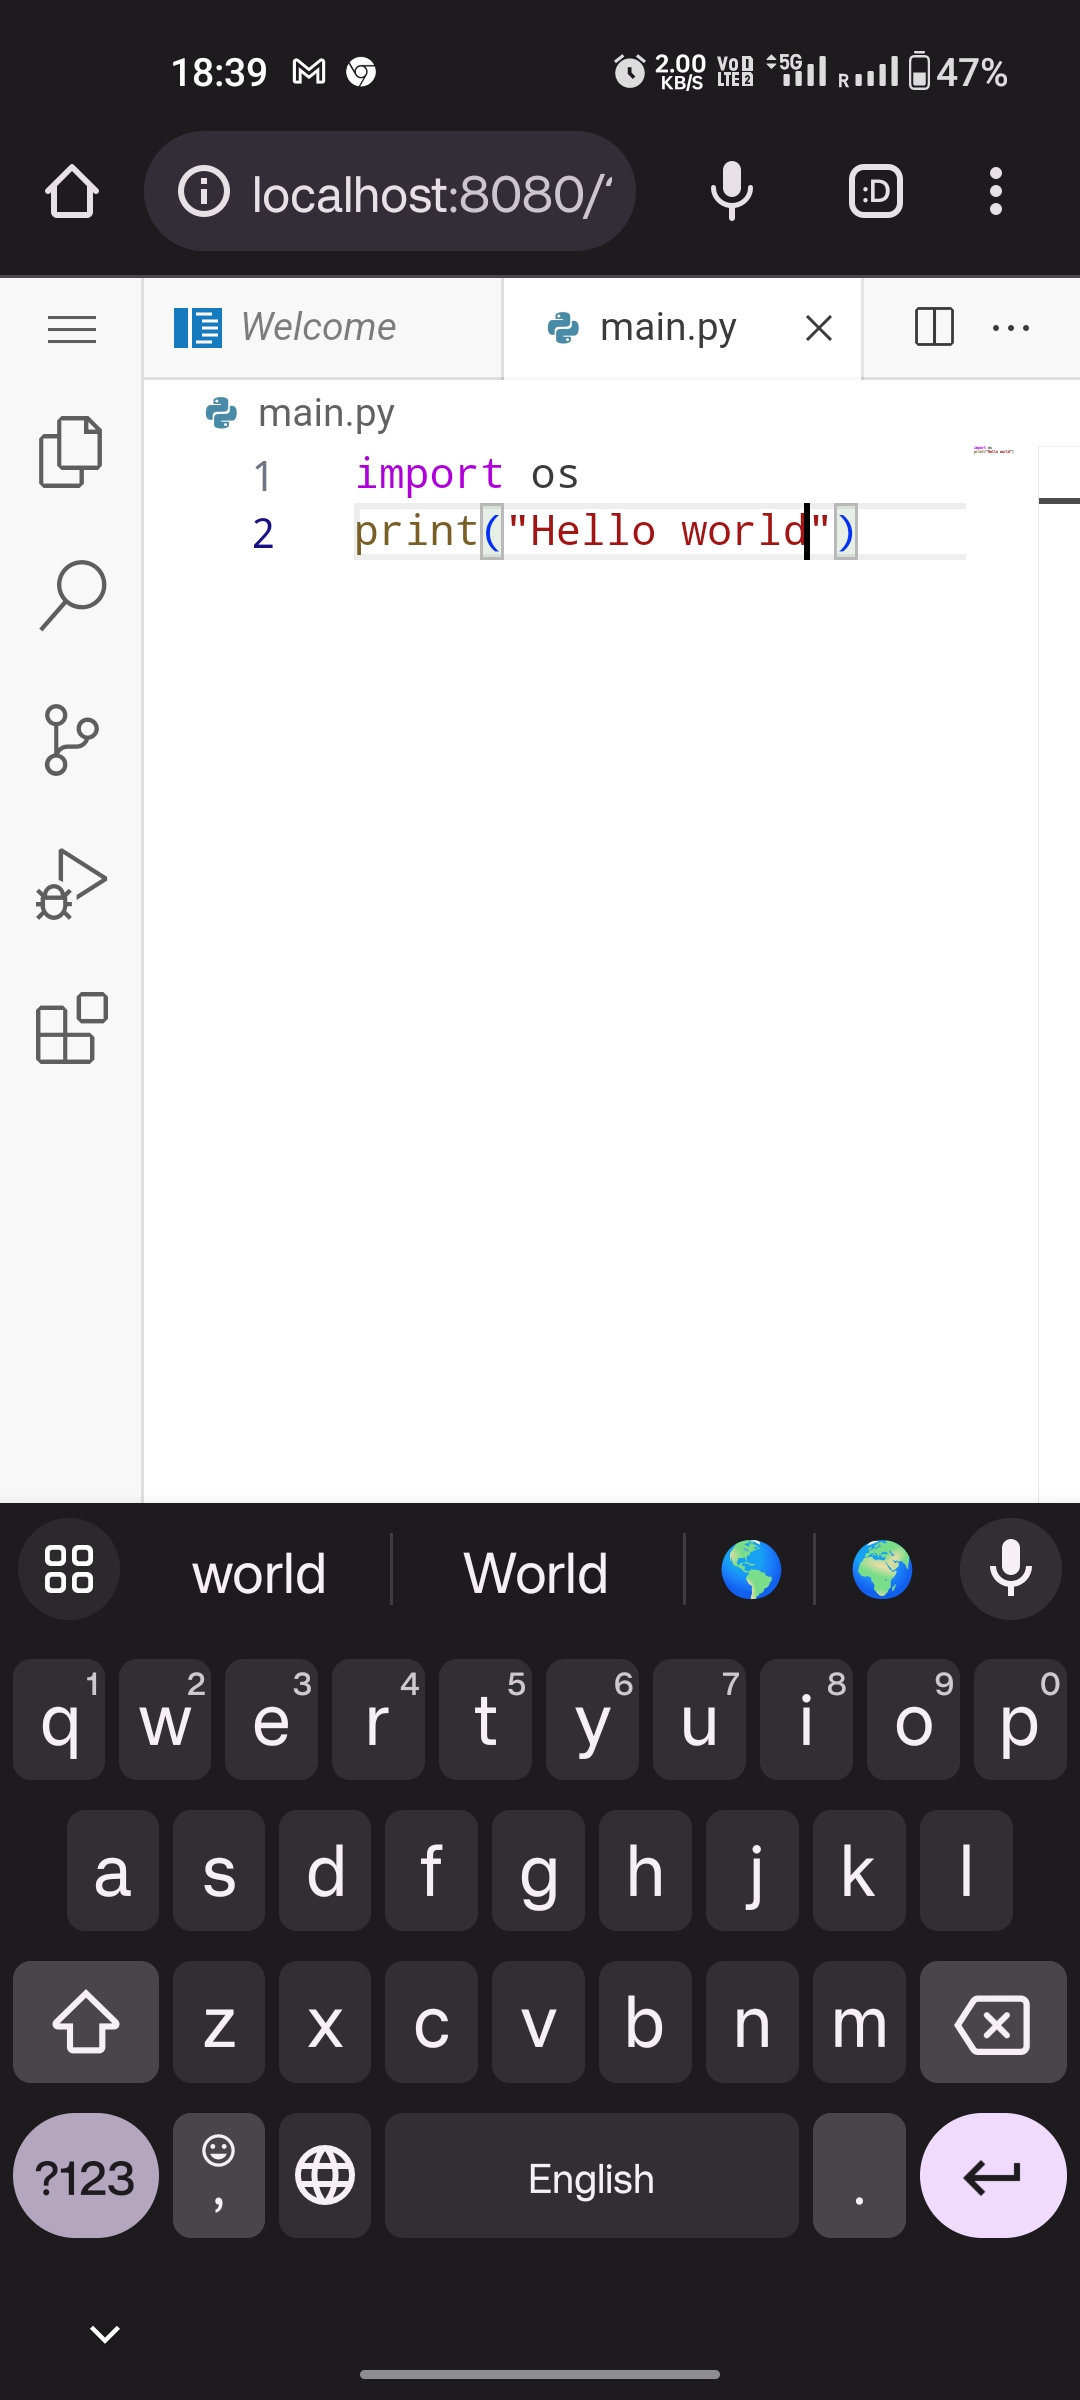
Now go to your browser. I am using Google Chrome for Android and go to localhost:8080
You will finally see a screen like this:
After entering the password you will see a welcome screen like this:
You can now start coding in VS Code on your Android Devices
Hope that worked for your phone. Please share your experiences, ask questions, or suggest improvements in the comments section. Happy Hacking!
1. If the update command doesn't work on your Termux or you get some other network errors, try to change the default repo by using the command below:
2. Whenever prompted, press 'y' and then press enter. You will have to press y followed by enter every time you are prompted for it.

VSCode supports a wide range of programming languages and offers features like syntax highlighting, IntelliSense (code completion and suggestions), built-in Git integration, debugging tools, and a vast ecosystem of extensions. Its cross-platform compatibility allows users to run it on Windows, macOS, and Linux, making it a popular choice for developers working on different operating systems.
In this post, we will see how you can install VS Code on an Android device. We will use one of the most popular Android terminal applications called Termux.
We have already uploaded a video on this on our YouTube channel where you can install vscode in android without any error and if anyone faces any problem or error, I have also solved it in the video, so I went stronging recommed to watch our video. I hope you can watch this video, you will find the link below.{alertInfo}
{getToc} $title={Table of Contents} $count={Boolean}
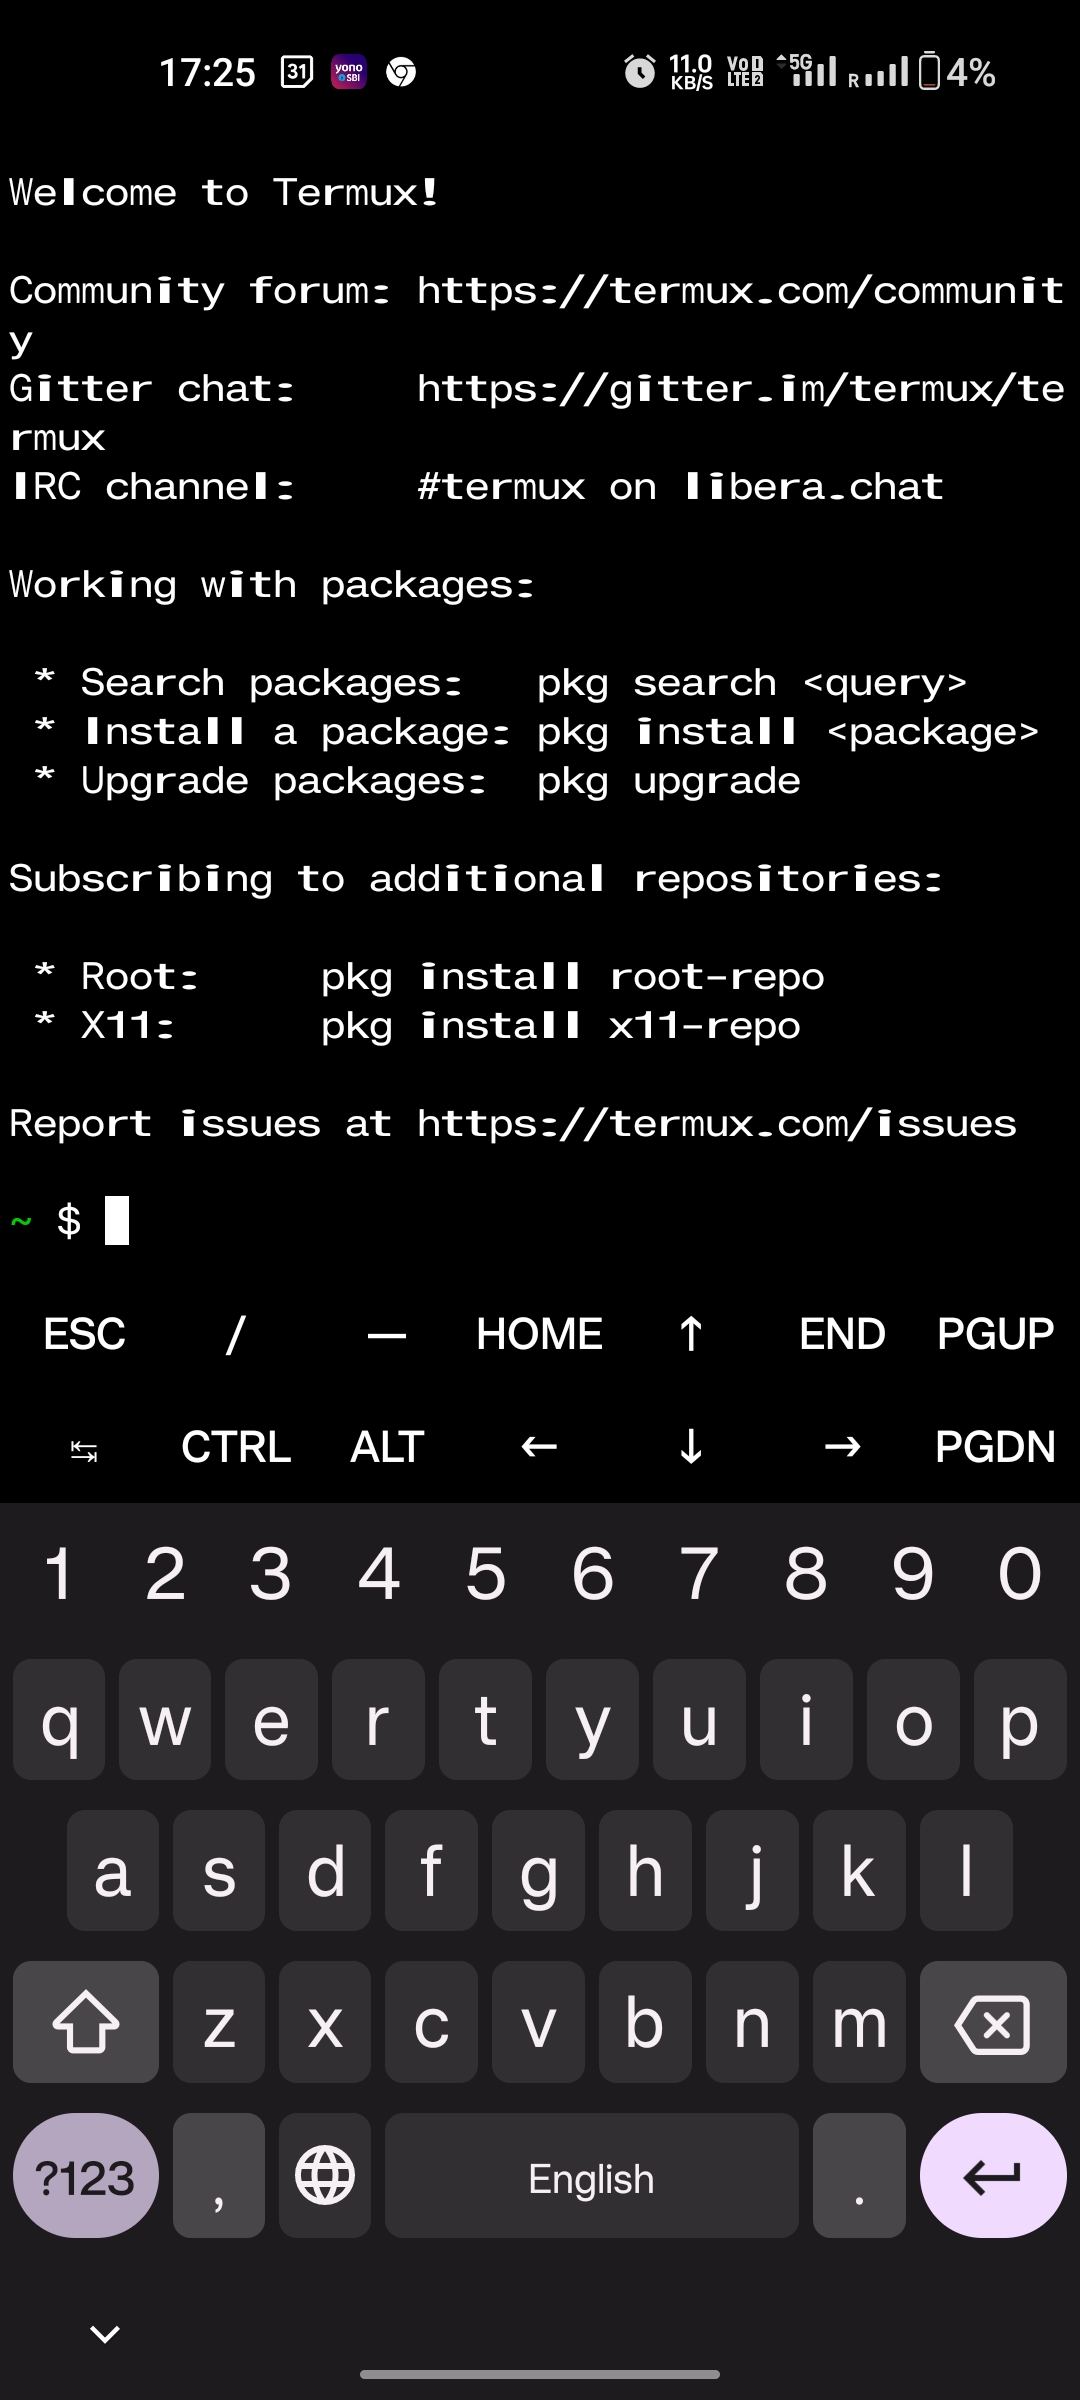
Step 1- Install Termux.
Frist of all we need to download Termux. {getButton} $text={DOWNLOAD} $icon={download} $color={#148eff} $size={1}
Open the Termux app and you will see a screen like this:
Step 2 - Install Ubuntu using Termux
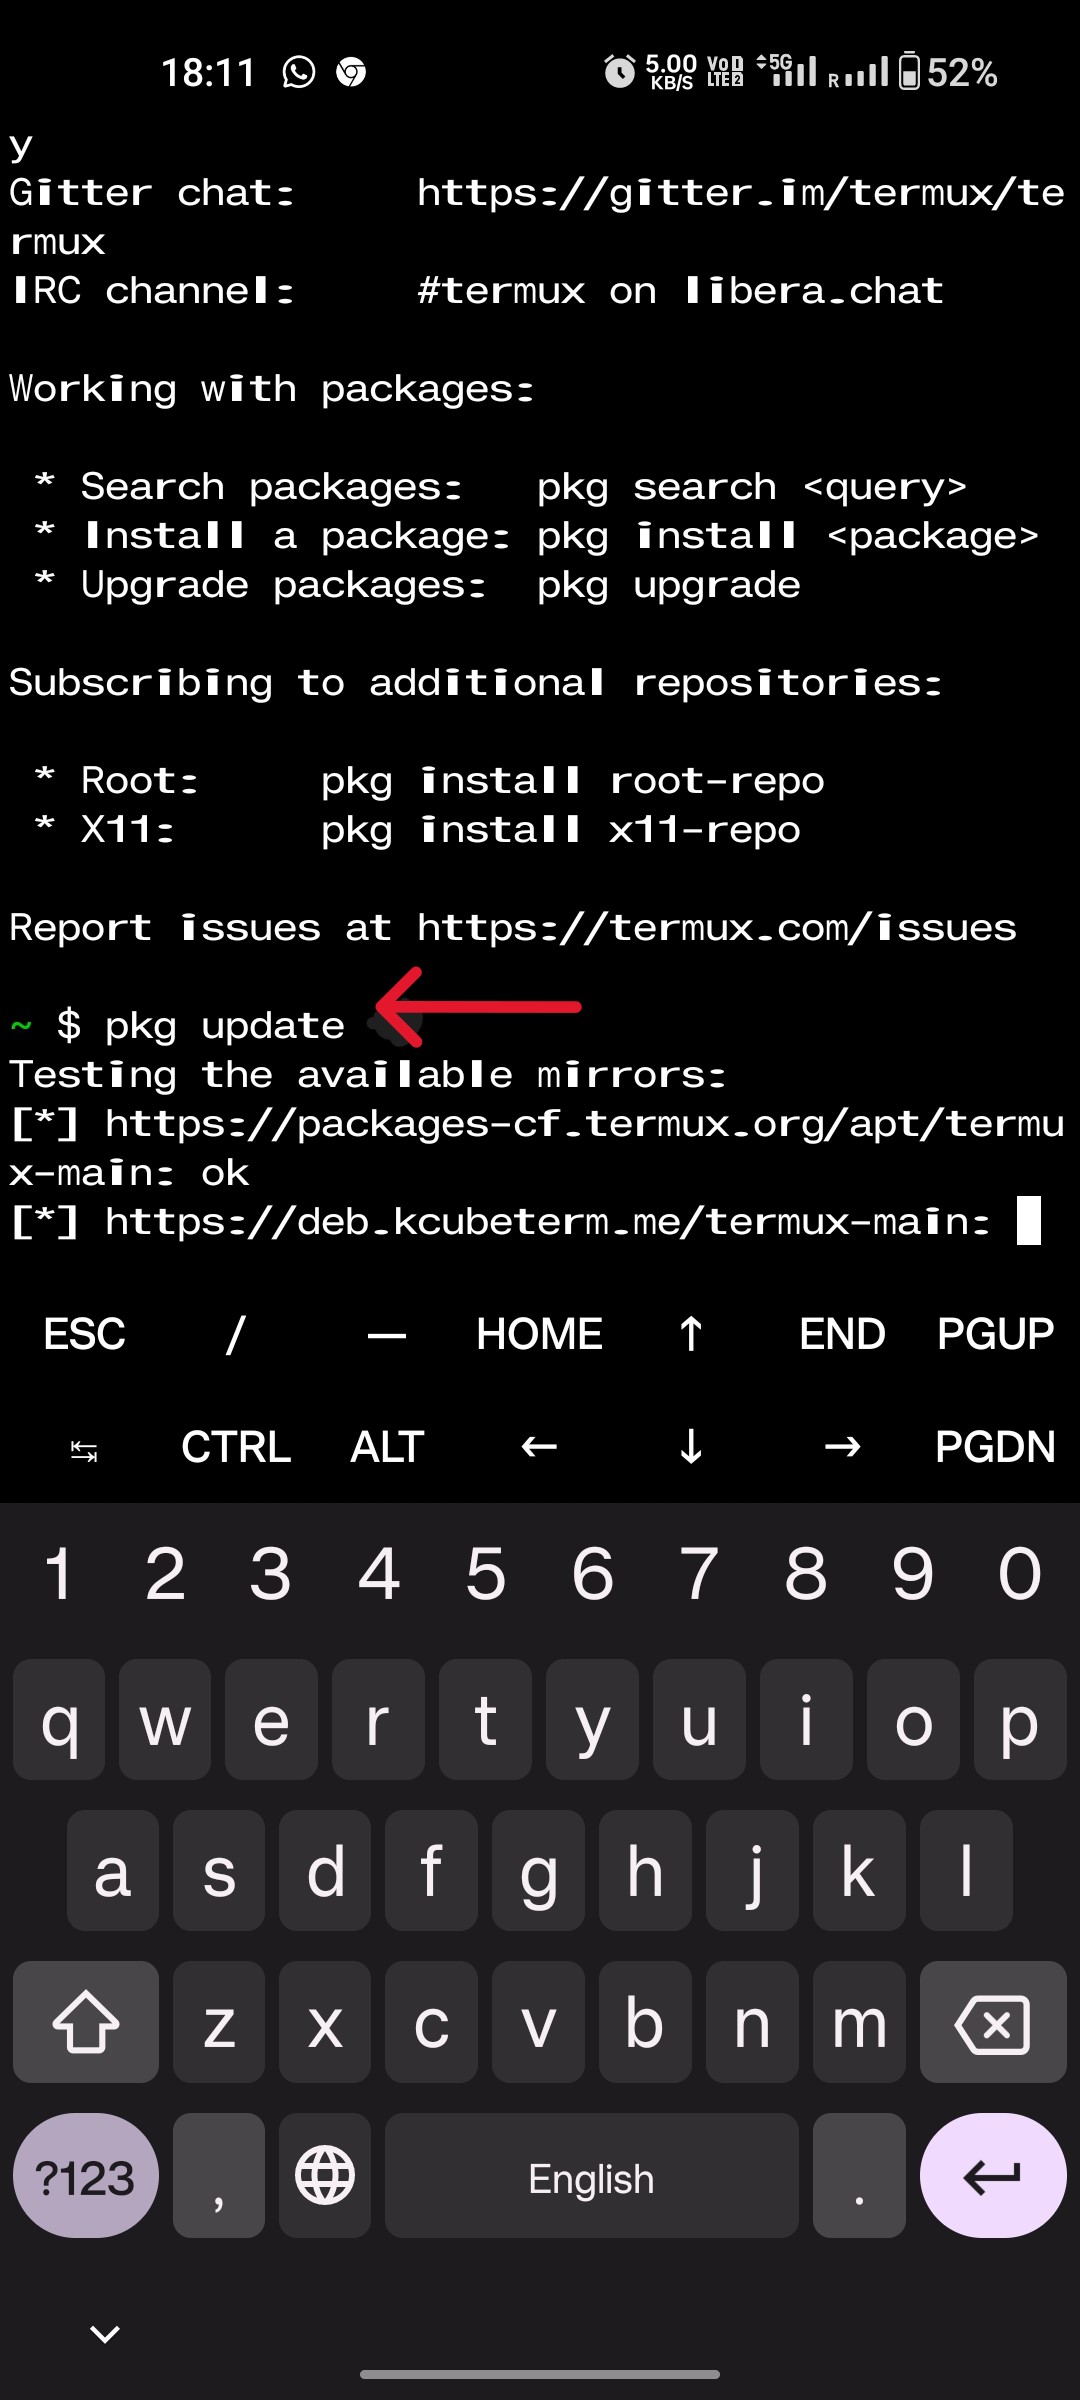
Enter the following command on Termux to update the package repository.pkg update{codeBox}
When prompted, press 'y' and then press enter. You will have to press y followed by enter every time you are prompted for it.
Now let's upgrade the packages using the below command in Termux
pkg upgrade{codeBox}
Now let's install proot-distro using the following command:
pkg install proot-distro{codeBox}
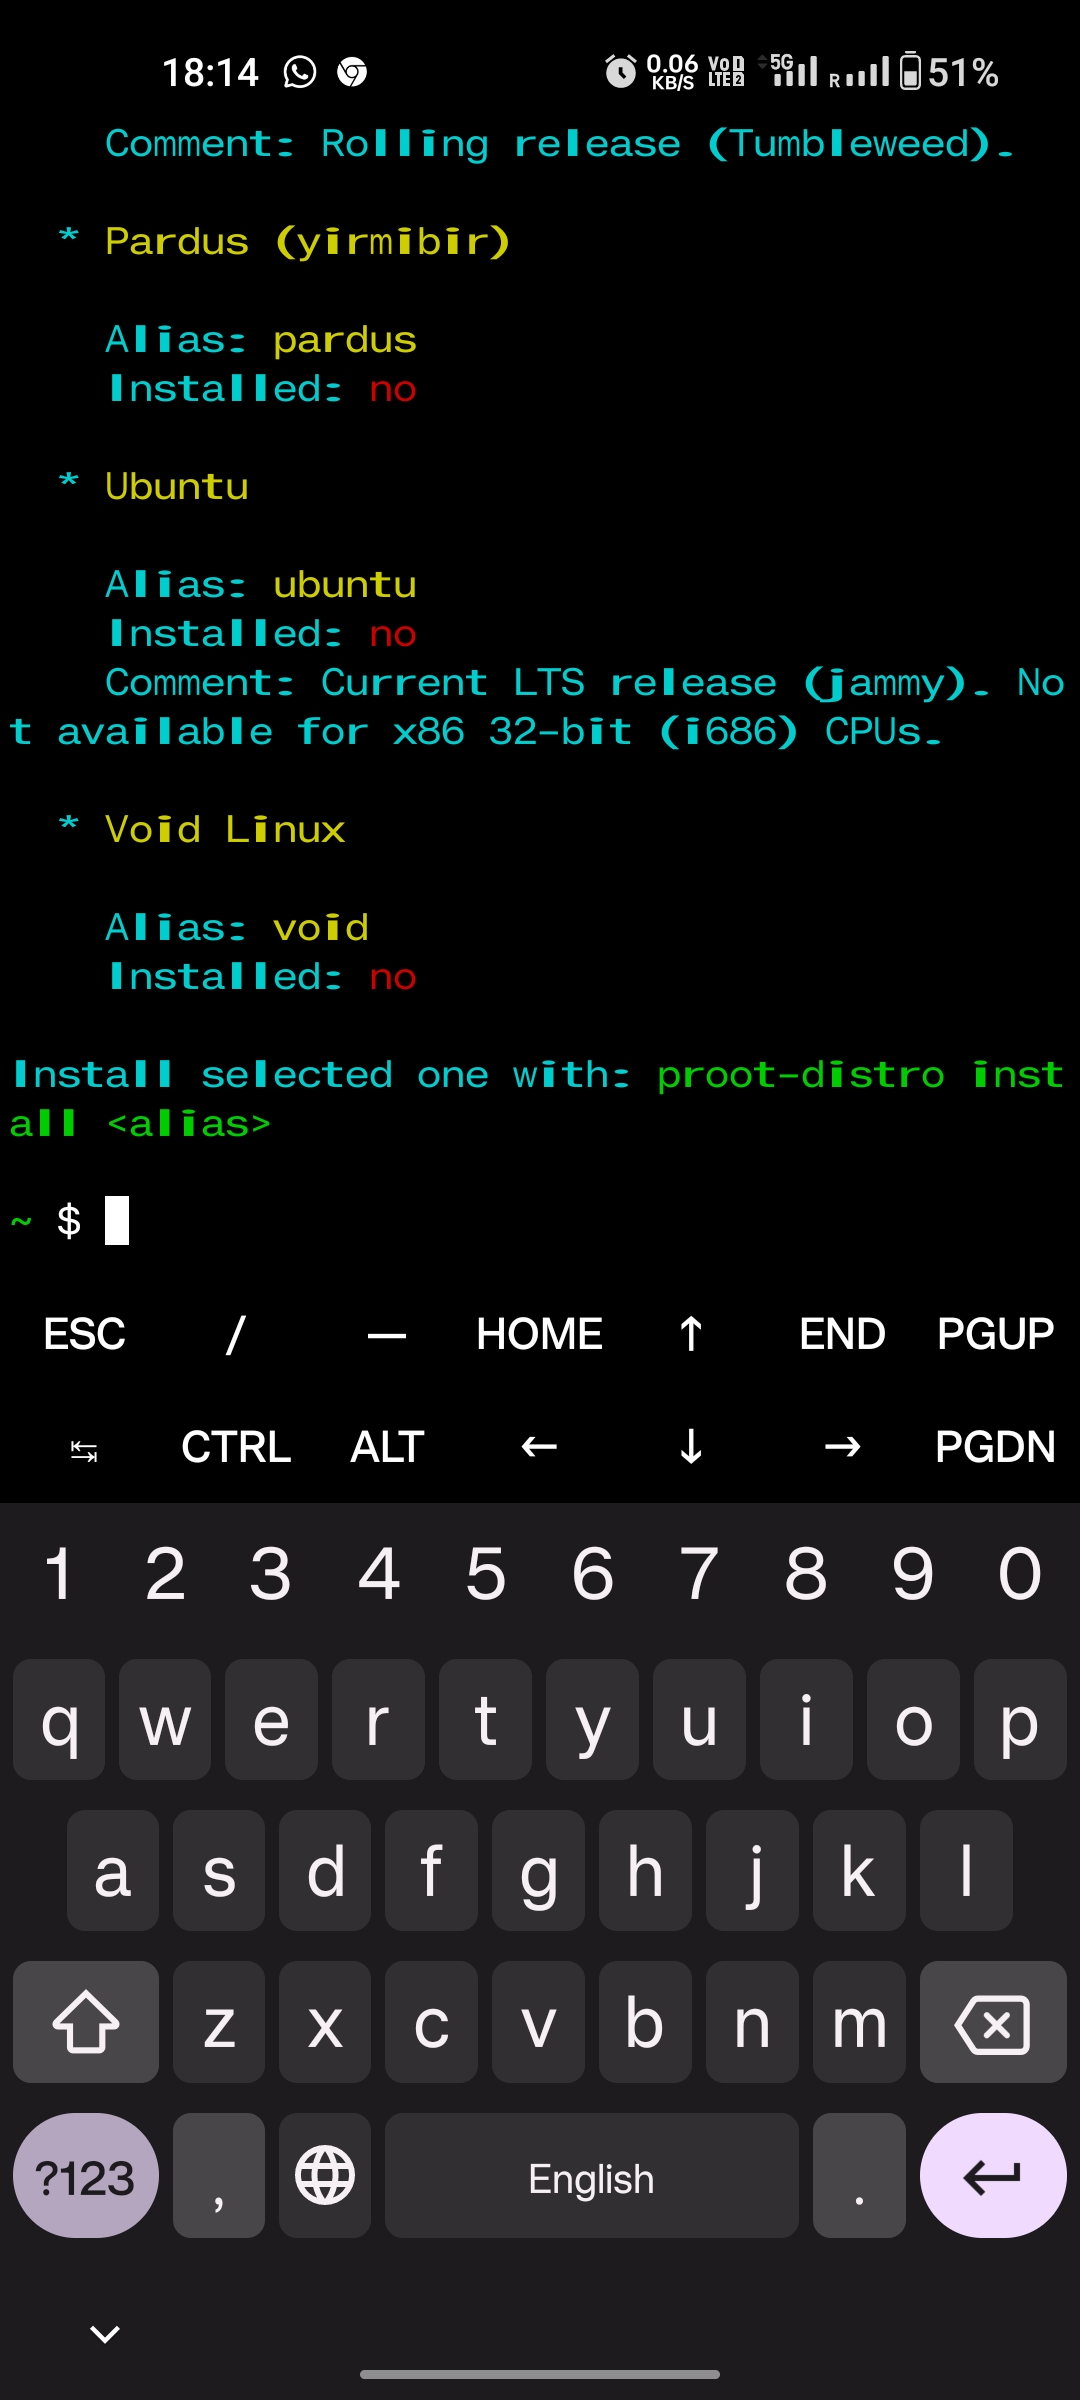
Now let's list all the distros we can install using proot using the following command (This command is optional)
proot-distro list{codeBox}
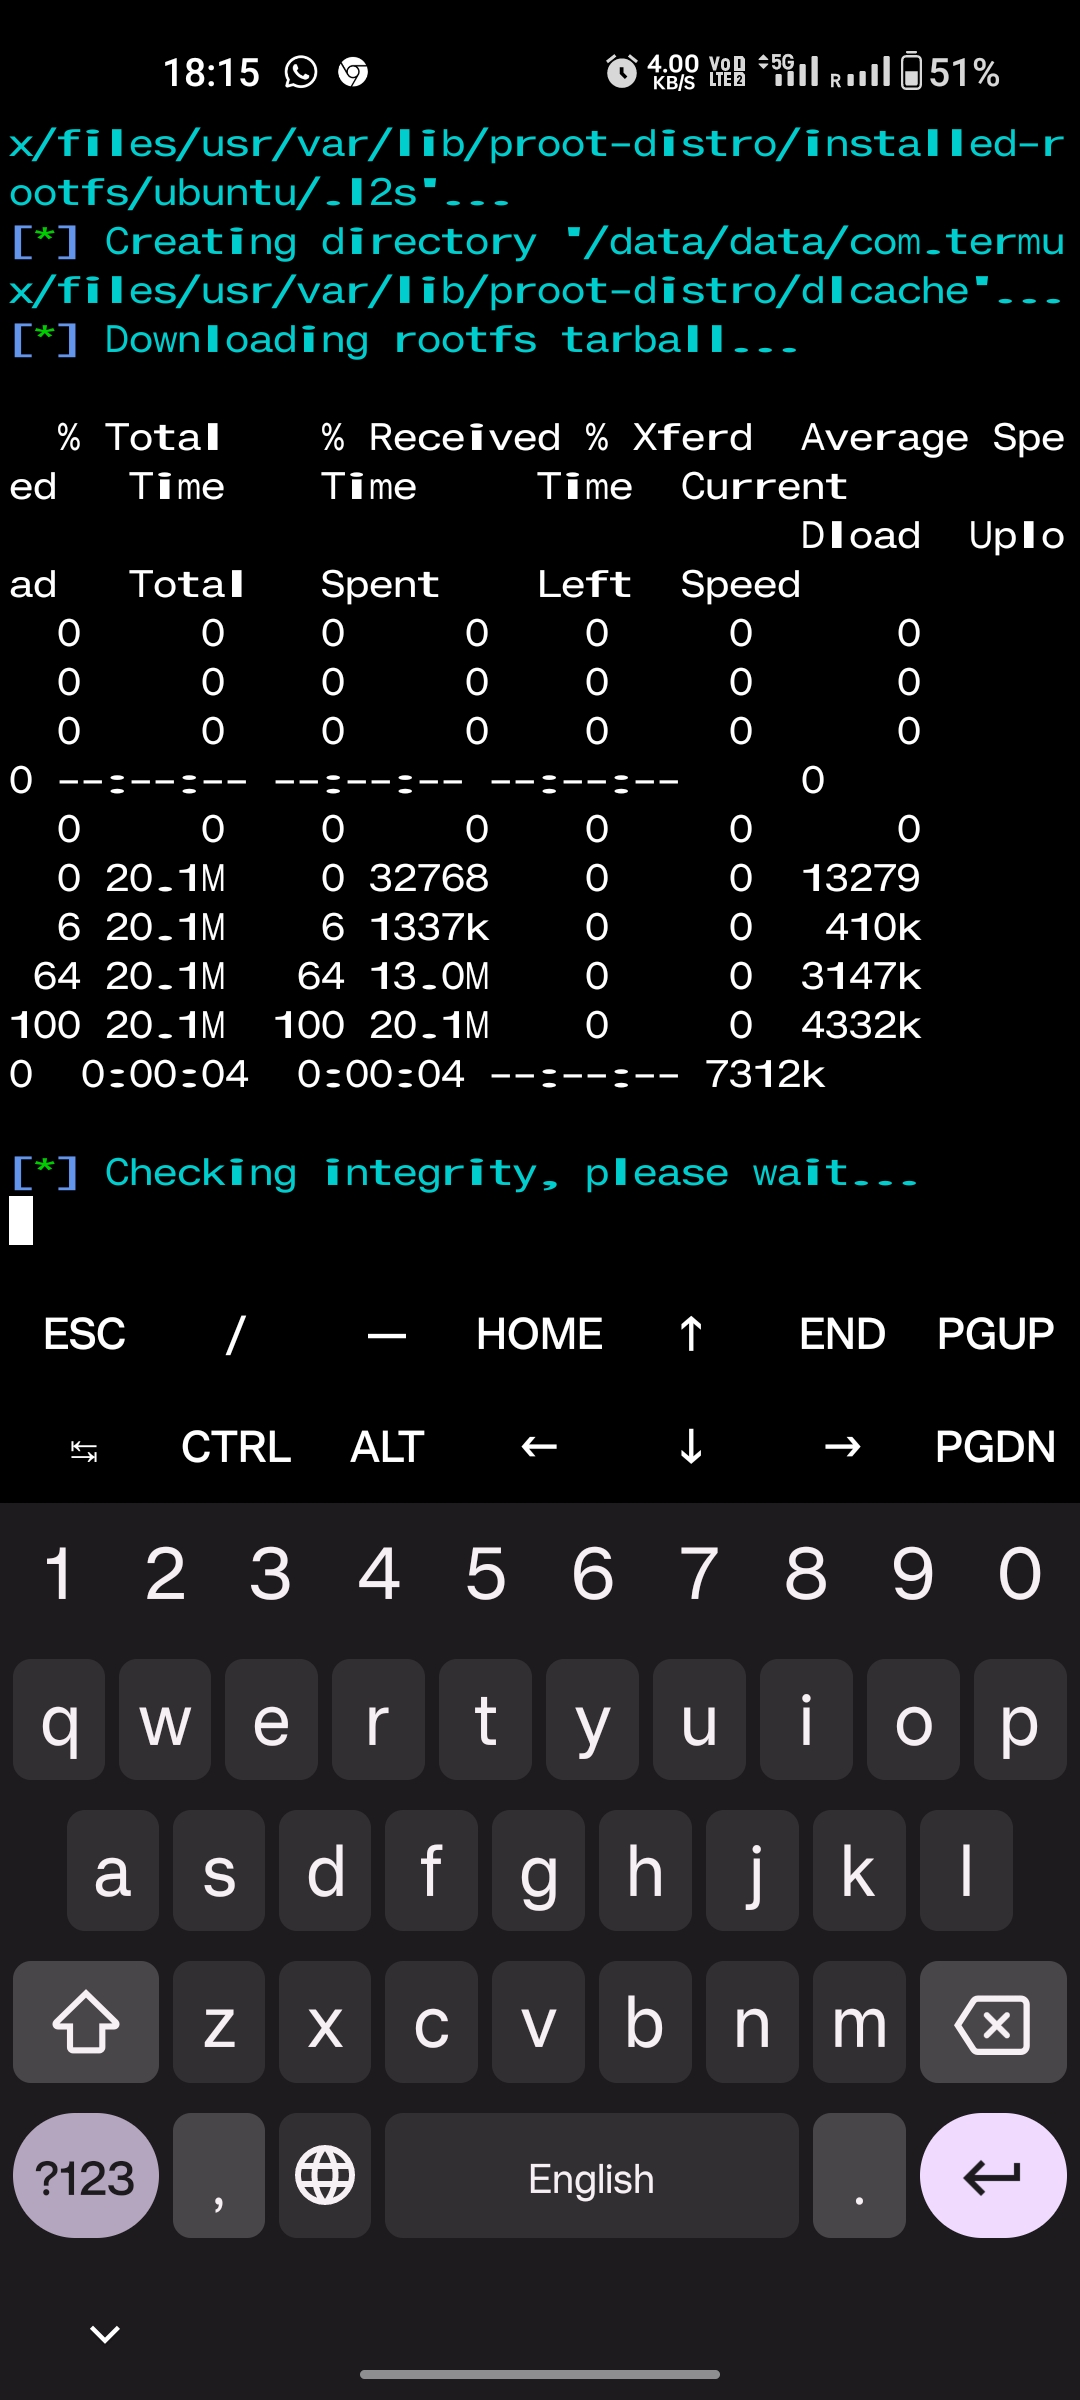
proot-distro install ubuntu{codeBox}
Ubuntu will start installing and you will see a screen like this:
proot-distro login ubuntu{codeBox}
Step 3 - Downloading code server
While on Ubuntu run the following command:
apt update {codeBox}
and following command to upgrade the package repository:
apt upgrade{codeBox}
Press 'y' and enter whenever prompted.
Now install wget using the following command:
apt install wget {codeBox}
Again press 'y' and enter whenever prompted to confirm the installation. You now have wget installed!
We will now download the latest release of the code server from Github using the following command:
wget https://github.com/coder/code-server/releases/download/v4.16.1/code-server-4.16.1-linux-arm64.tar.gz {codeBox}
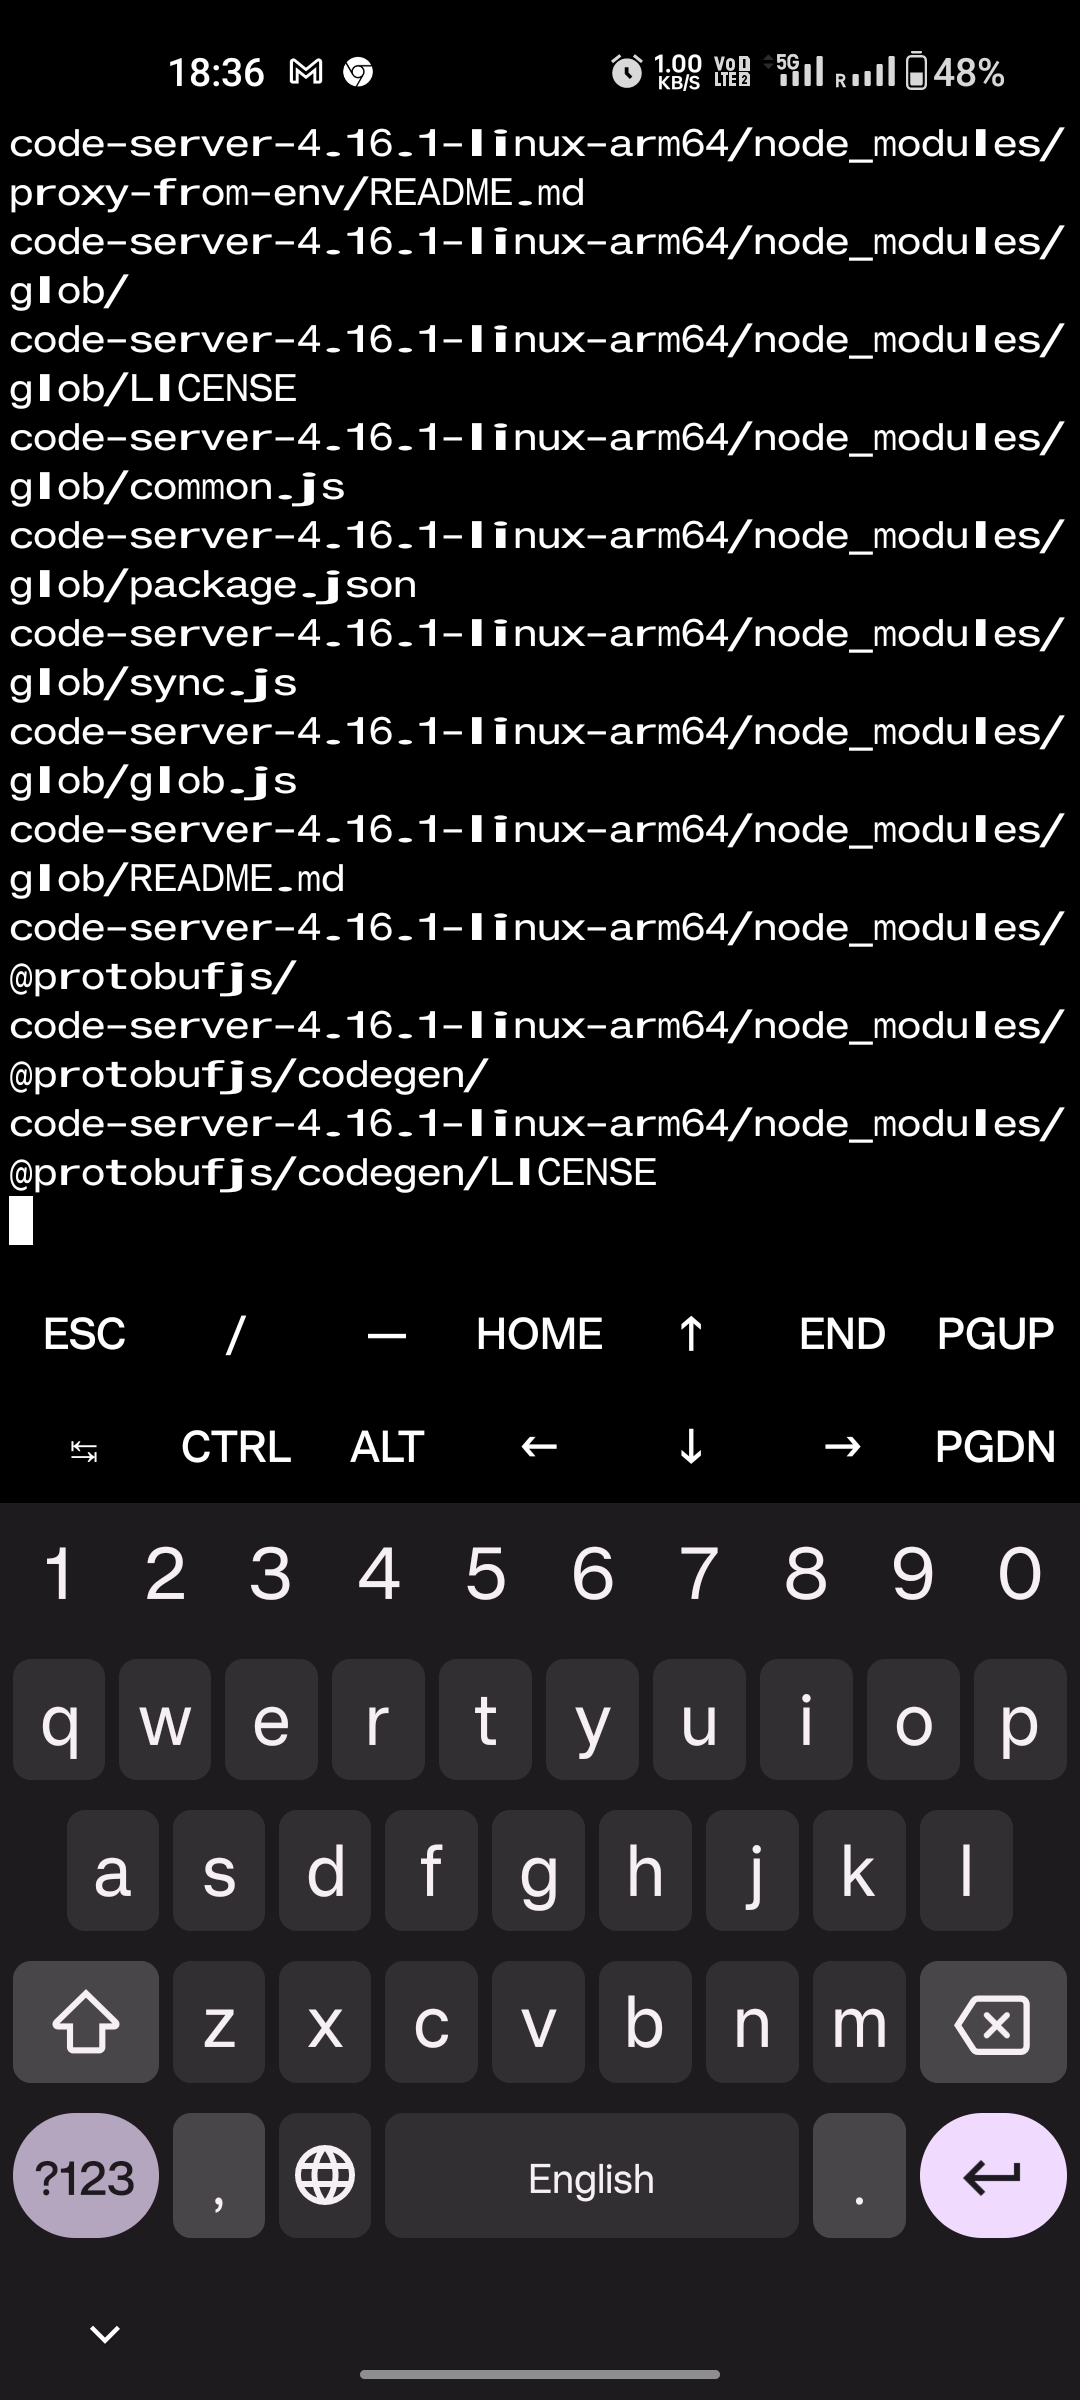
tar -xvf ./code-server-4.16.1-linux-arm64.tar.gz {codeBox}
The tarball will start extracting. Wait for the tarball extraction to finish
Step 4 - Set up a password and start using VS Code
export PASSWORD="password" {codeBox}
Note: I am using a very weak password for demonstration purposes as I will use this code-server locally on my phone. Consider using strong passwords for your serious projects
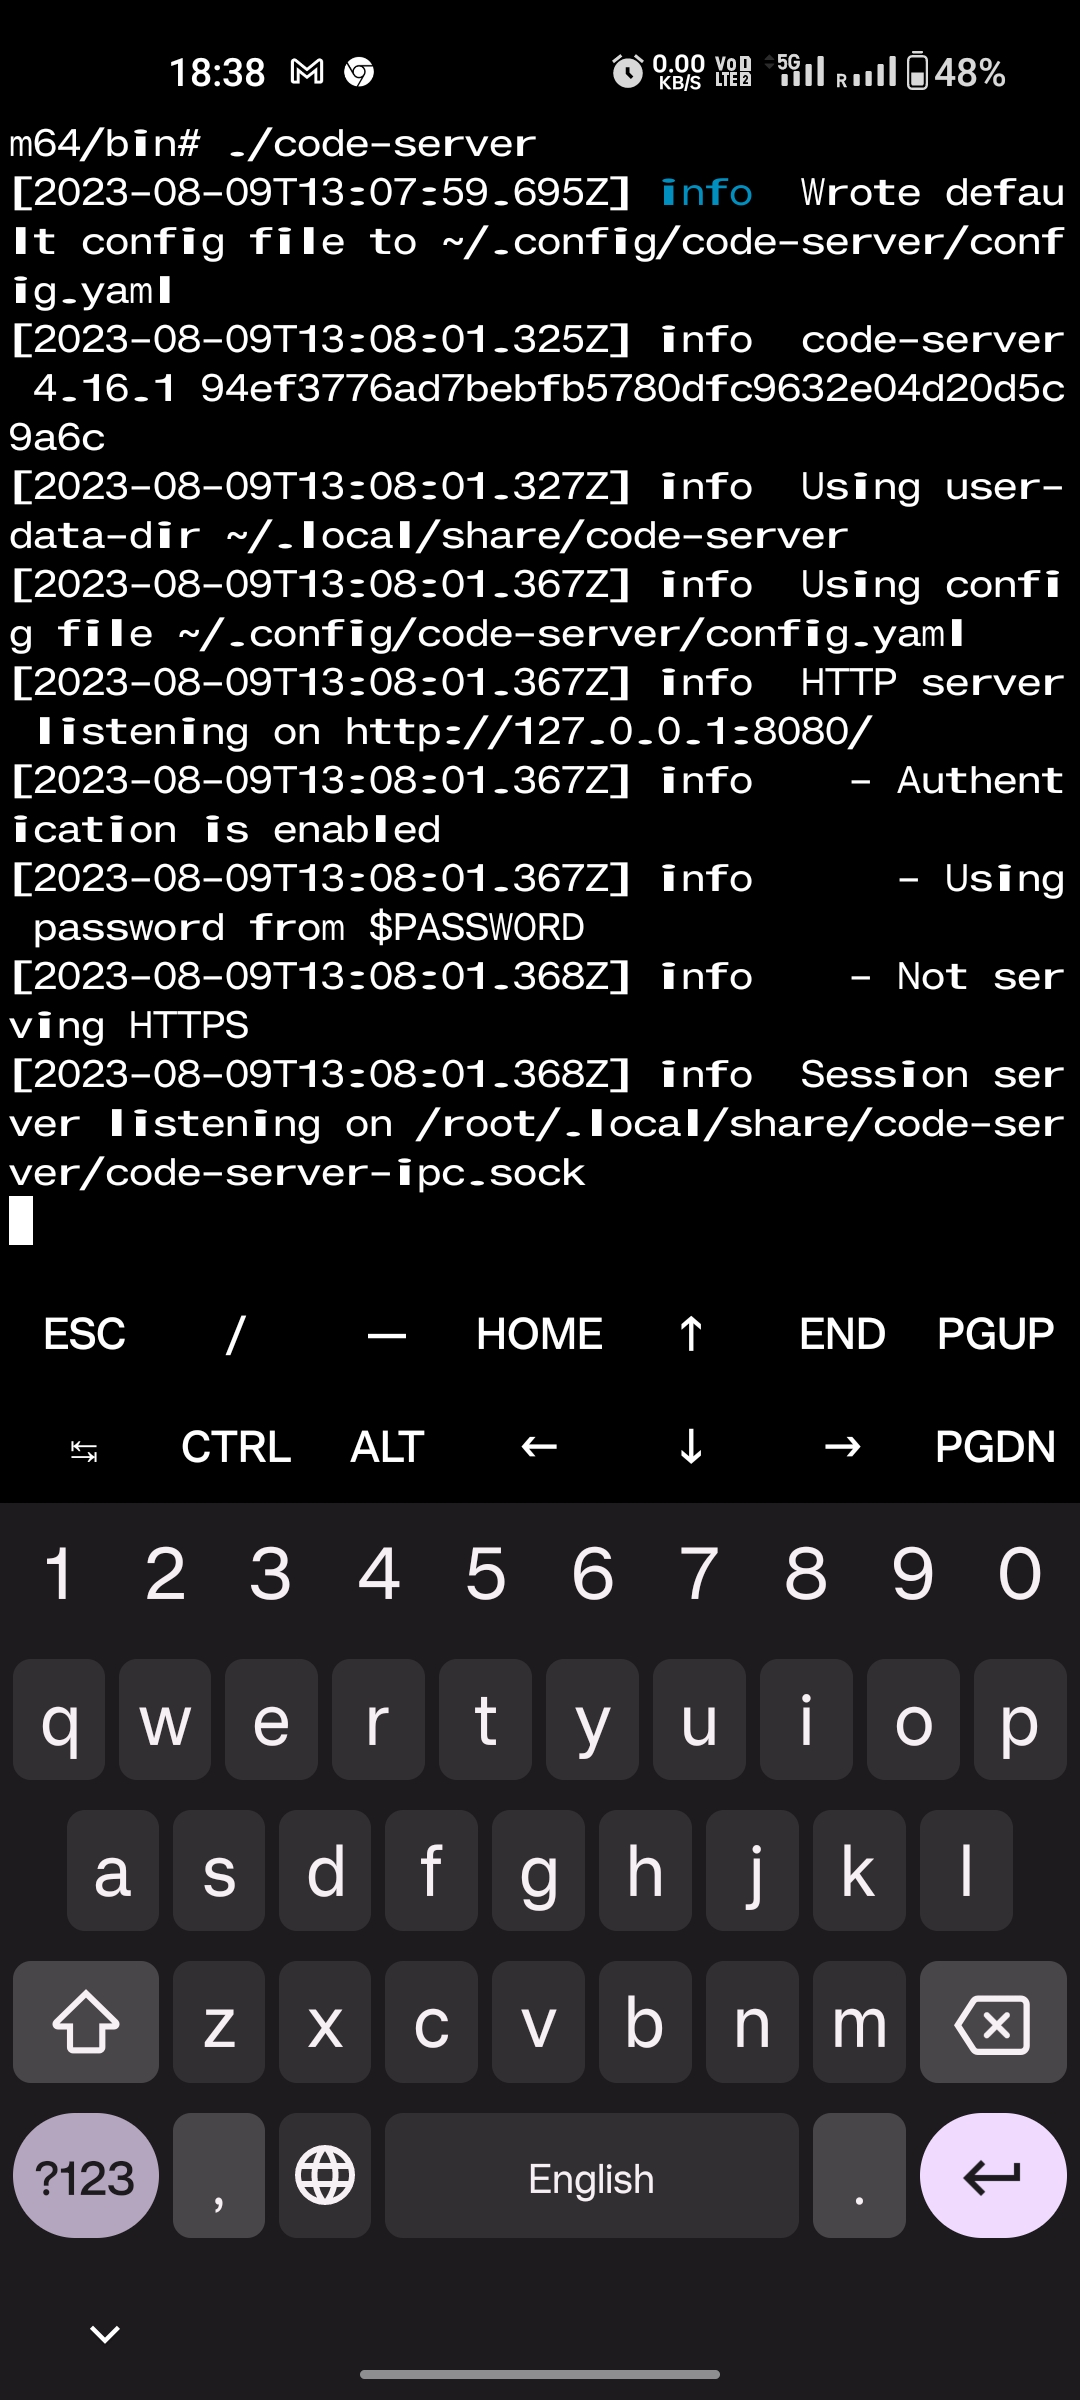
Launch the code server using the following command:
./code-server {codeBox}
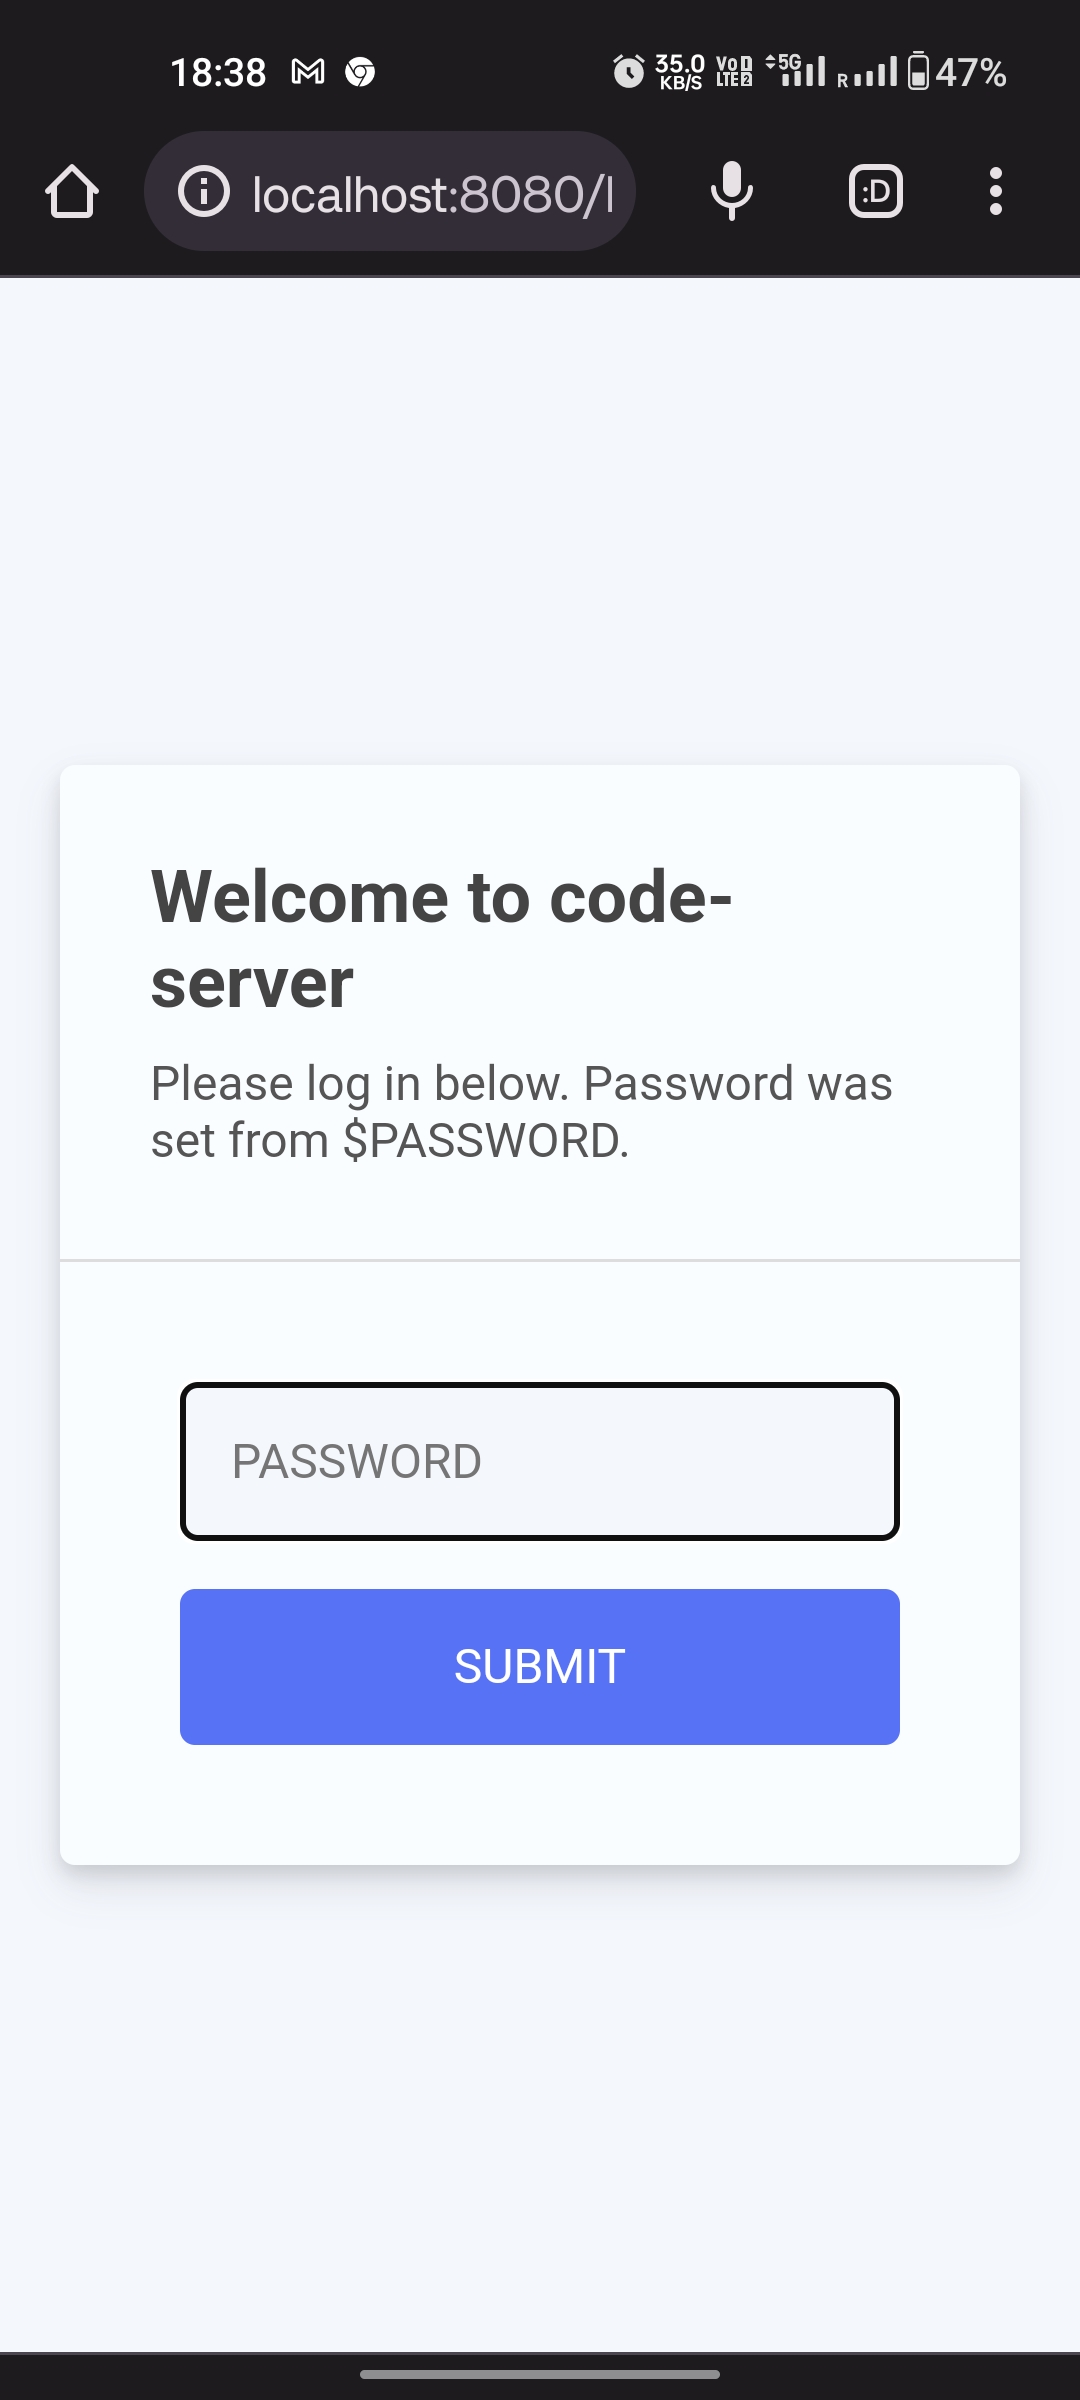
Now go to your browser. I am using Google Chrome for Android and go to localhost:8080
You will finally see a screen like this:
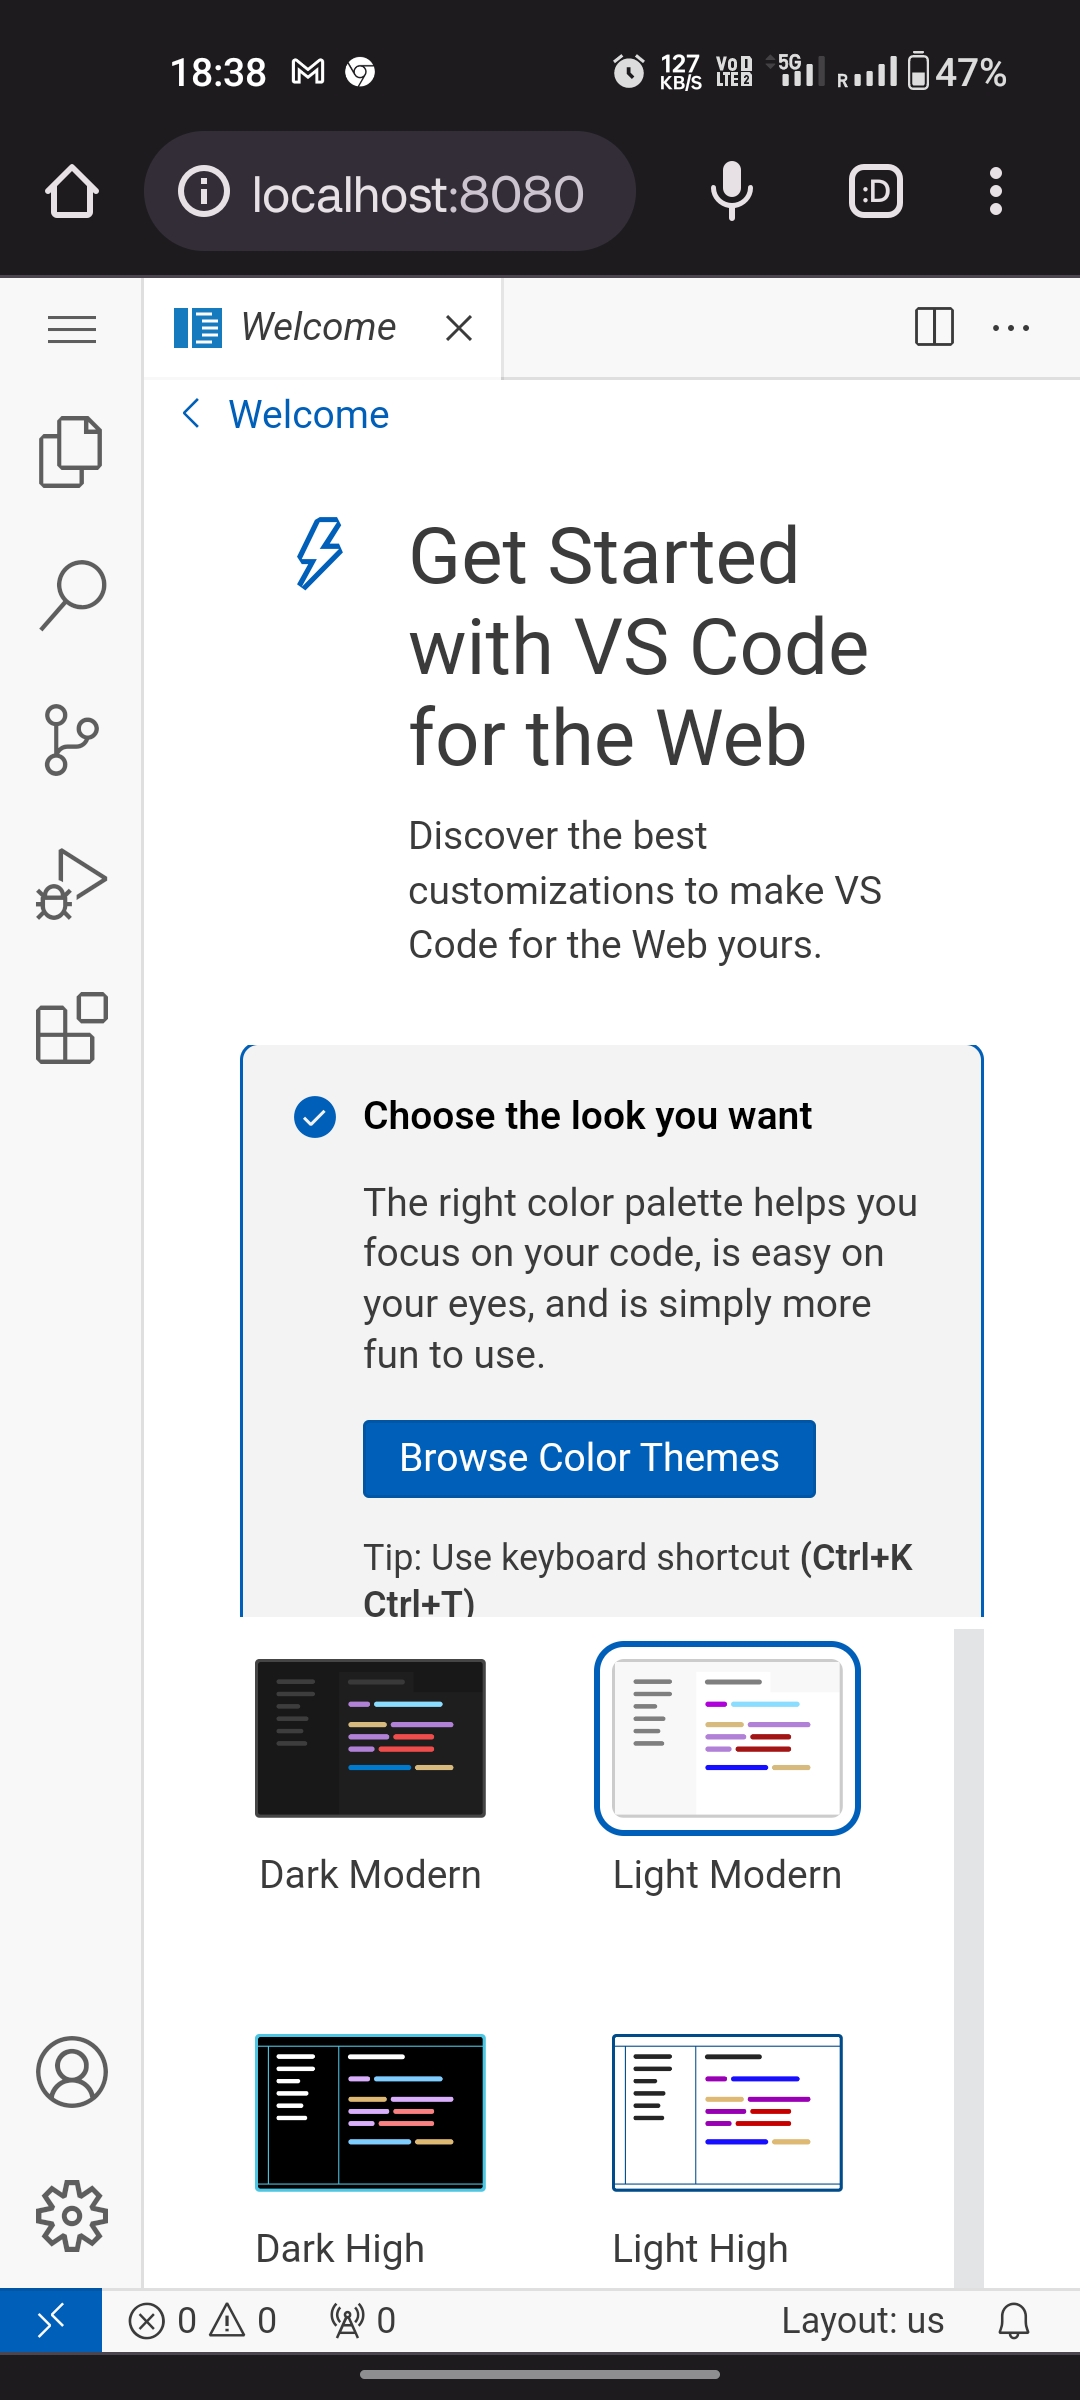
After entering the password you will see a welcome screen like this:
You can now start coding in VS Code on your Android Devices
Hope that worked for your phone. Please share your experiences, ask questions, or suggest improvements in the comments section. Happy Hacking!
Caveats:
termux-change-repo {codeBox}
Change the repository to Mirror by Grimle and try the pkg update command again. It should work!
2. Whenever prompted, press 'y' and then press enter. You will have to press y followed by enter every time you are prompted for it.
If you are facing any probleam or error in this tool then please let's me known.
{contactForm}
.webp&description=How to install VS Code on Android Phone! Visual Studio.)
Guys iska installing process thoda complicated Hai To i recommended full video dekh lo👻.
ReplyDelete{video} https://youtu.be/K1zkYoD-hAA {/video}